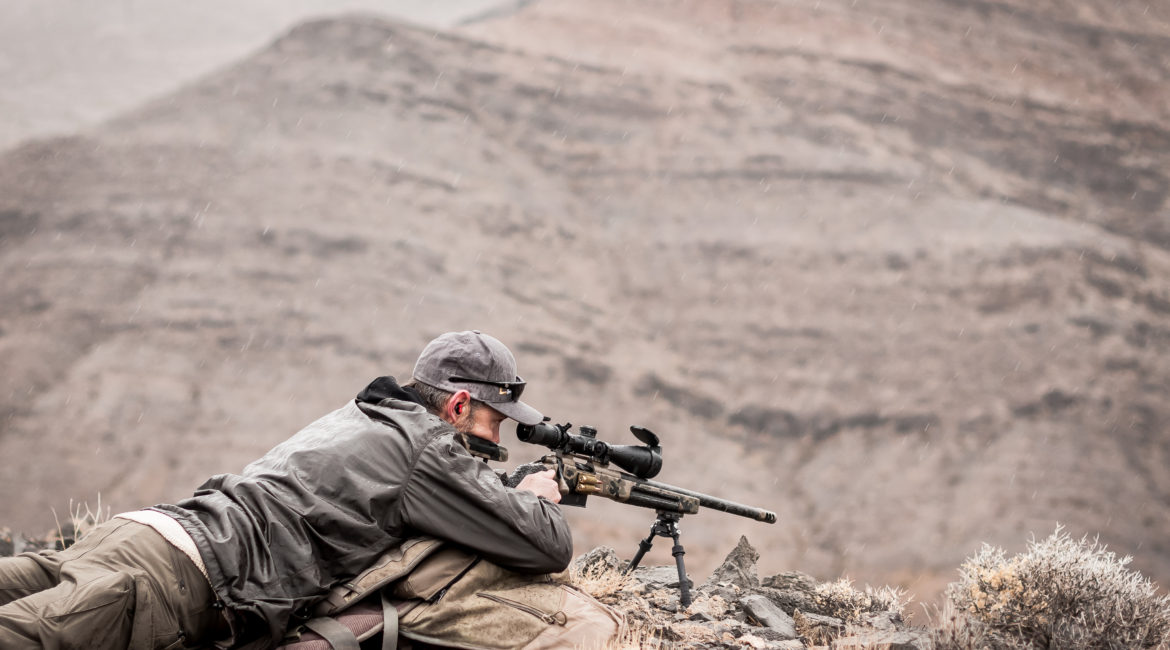
Angled Shooting
I wanted to share what I have learned about angled shooting. When the guys and I started out we would constantly push ourselves to learn more. We covered things like range estimation, moving targets and angles. Before I really started researching I would hear different things from different people. Some folks said you would impact differently depending if the shot was up hill or downhill (that is not true). The riflemen’s rule was complicated and took me awhile to decipher it. The math wasn’t something I was going to be able to do quickly out on the range or in the desert.
After some time and practice we figured out how to account for angled shots. We found we preferred using the Improved Rifleman Rule. When you have an angled shot think back to your days in geometry class. The pythagorean theorem is a way to solve the problem if you have the correct variables. The Pythagorean theorem demonstrates the difference between the line of sight range and the actual horizontal range. The line of sight range will be greater than the actual horizontal range. This will cause you to shoot over your target regardless if the shot is up hill or downhill. The severity of the angle will exacerbate the effect.
The easiest way to correct for an angled shot is to measure the angle, use a cheat sheet to find the correct cosine, then multiply the line of sight range by the angle cosine. Doing that will give you a range that is corrected for the angle (a cosine is a way to express an angle in decimal form).
Example:
Line of sight range = 600 yards
Angle = 25 degrees
Cosine for 25 degrees = 0.906
600 yards (line of sight) x 0.906 (angle cosine) = 543.6 yards
Dial your DOPE for 543.6 yards to impact the target.
To find the cosine I use two methods. The first and simplest is a sextant I made using a protractor, straw, string, key ring and tape. Before shooting I will look down the straw and put the target on the center of the straw. The string is weighted and will hang freely, once the target is in the center I will hold still and pinch the string against the protractor. This will tell me how many degrees to my target. Once I know the angle I use a cheat sheet to get the cosine. Now that I have the variables I am able to do the equation and solve for the correct horizontal range.
The second and faster way to do the same thing is to use an angle cosine indicator. The one I have is made by Sniper Tools Inc. and is mounted to my rifle using a mount from Spuhr. With my scope on zero I put my reticle on the target. While on target I look at the indicator which tells me the cosine for the angle, with that information I can solve for the horizontal range. The Sniper Tools angle cosine indicator and Spuhr mount are very useful if you are going to be shooting or hunting in mountainous terrain. They can even be useful in urban environments. We are seeing more and more laser range finders that will display the angle to target and even correct the range for angle. Make sure you know what setting your equipment is in before hand.
Once the variables are figured out, I am able to easily correct for angles. Some of the areas we hunt are located in pretty rough country. Having the ability to accurately solve the problem allows me to send accurate rounds down range and harvest game ethically.


